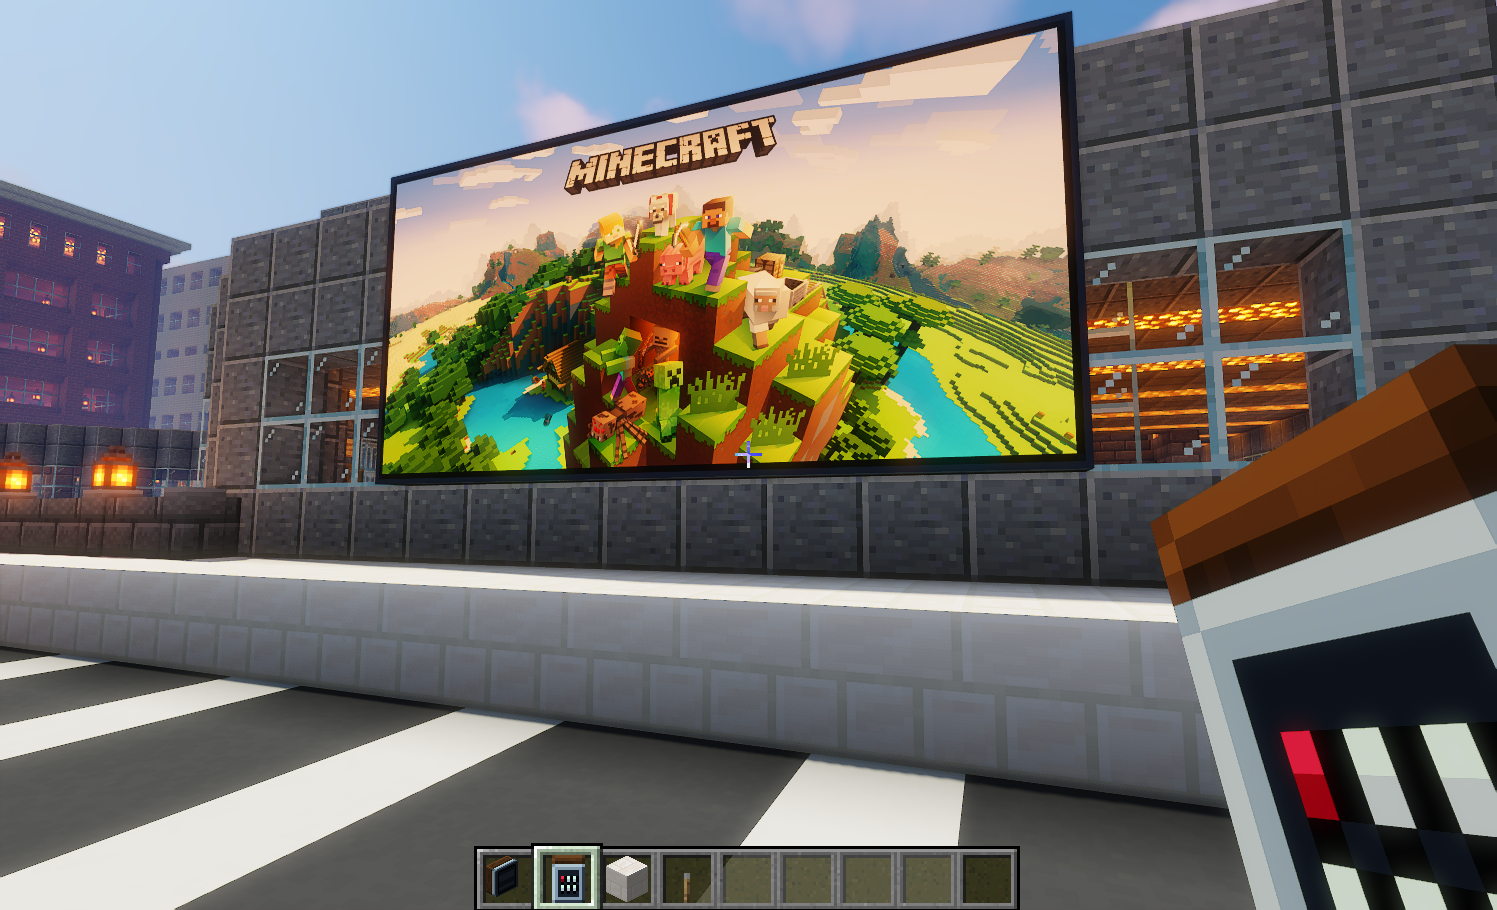
Projector Mod 是一个客户端模组,它添加了一个自定义的图片方块,可以在你的 Minecraft 世界中显示来自互联网的图片。
Projector Mod 既可以在客户端运行,也可以在服务端运行。当作为服务端模组安装时,投影仪会将当前显示的图片同步给所有客户端。
加入我们的 Discord 服务器 获取支持、提出建议和功能请求。
用法
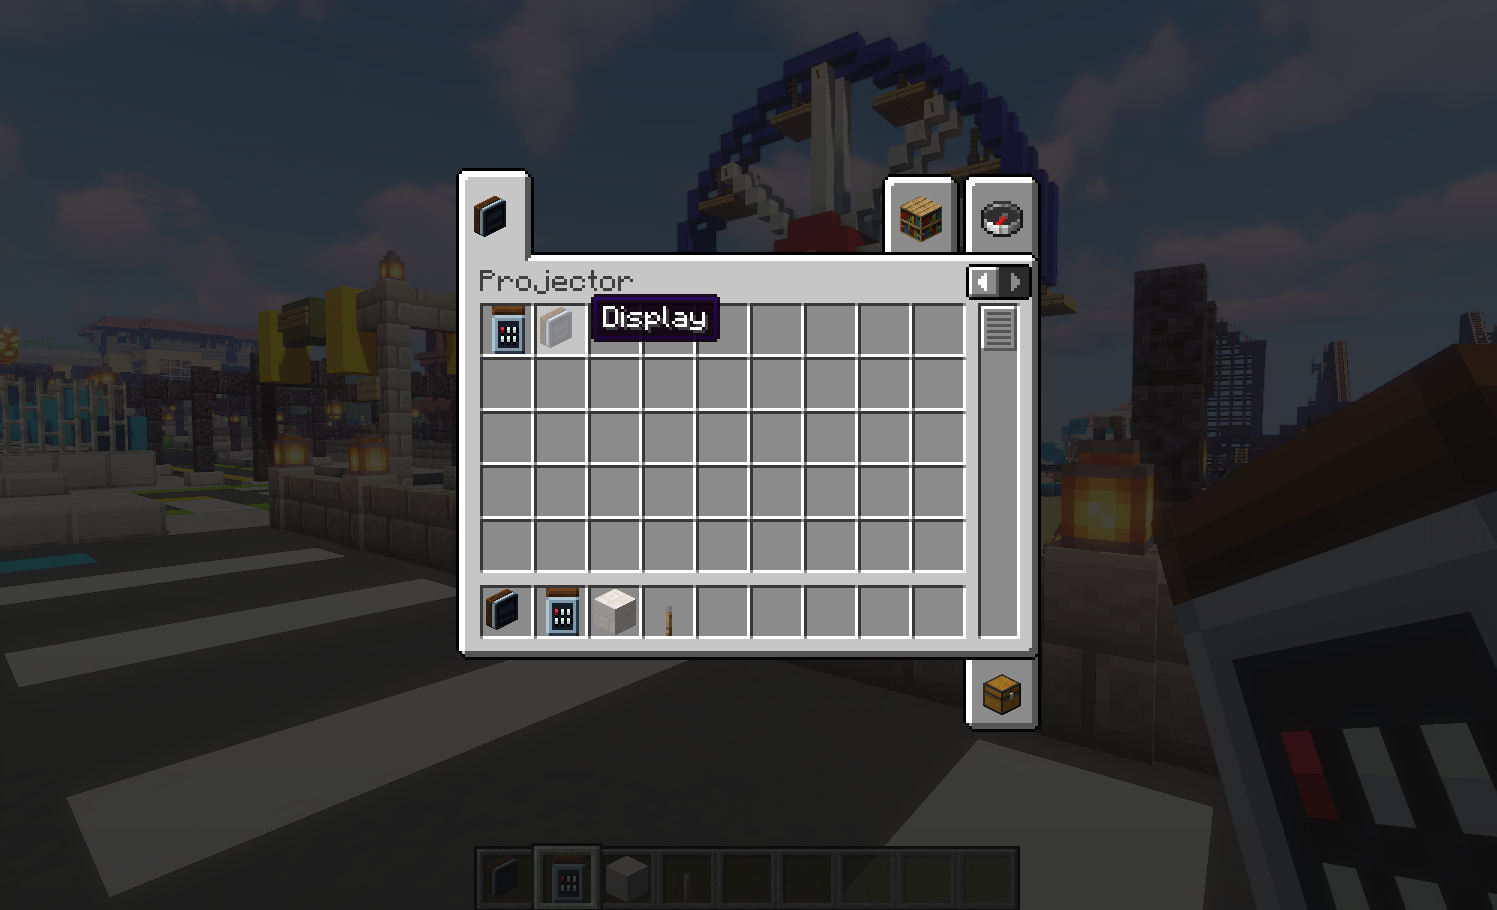
要显示图片,你需要创建一个图片方块。目前,这可以通过在创造模式下从物品栏的 Projector 标签页中选择 Display 物品来完成。
显示图片的大小通过并排放置图片方块来控制。图片将缩放以适应连接方块的尺寸。最少需要有一个方块,如下例所示。
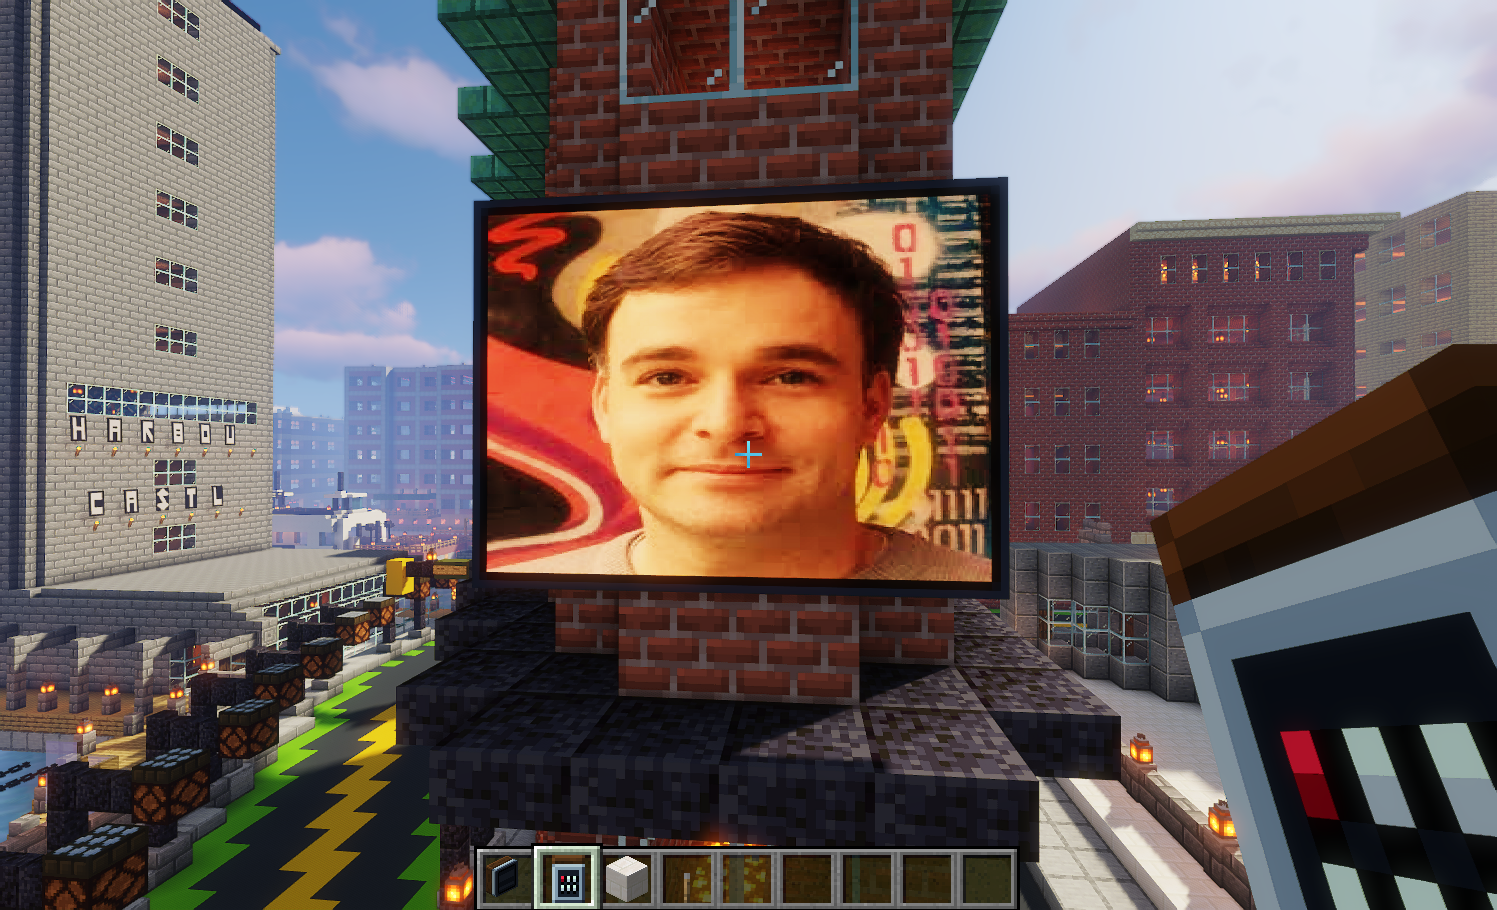
但你放置的图片方块数量实际上没有上限。
红石电源
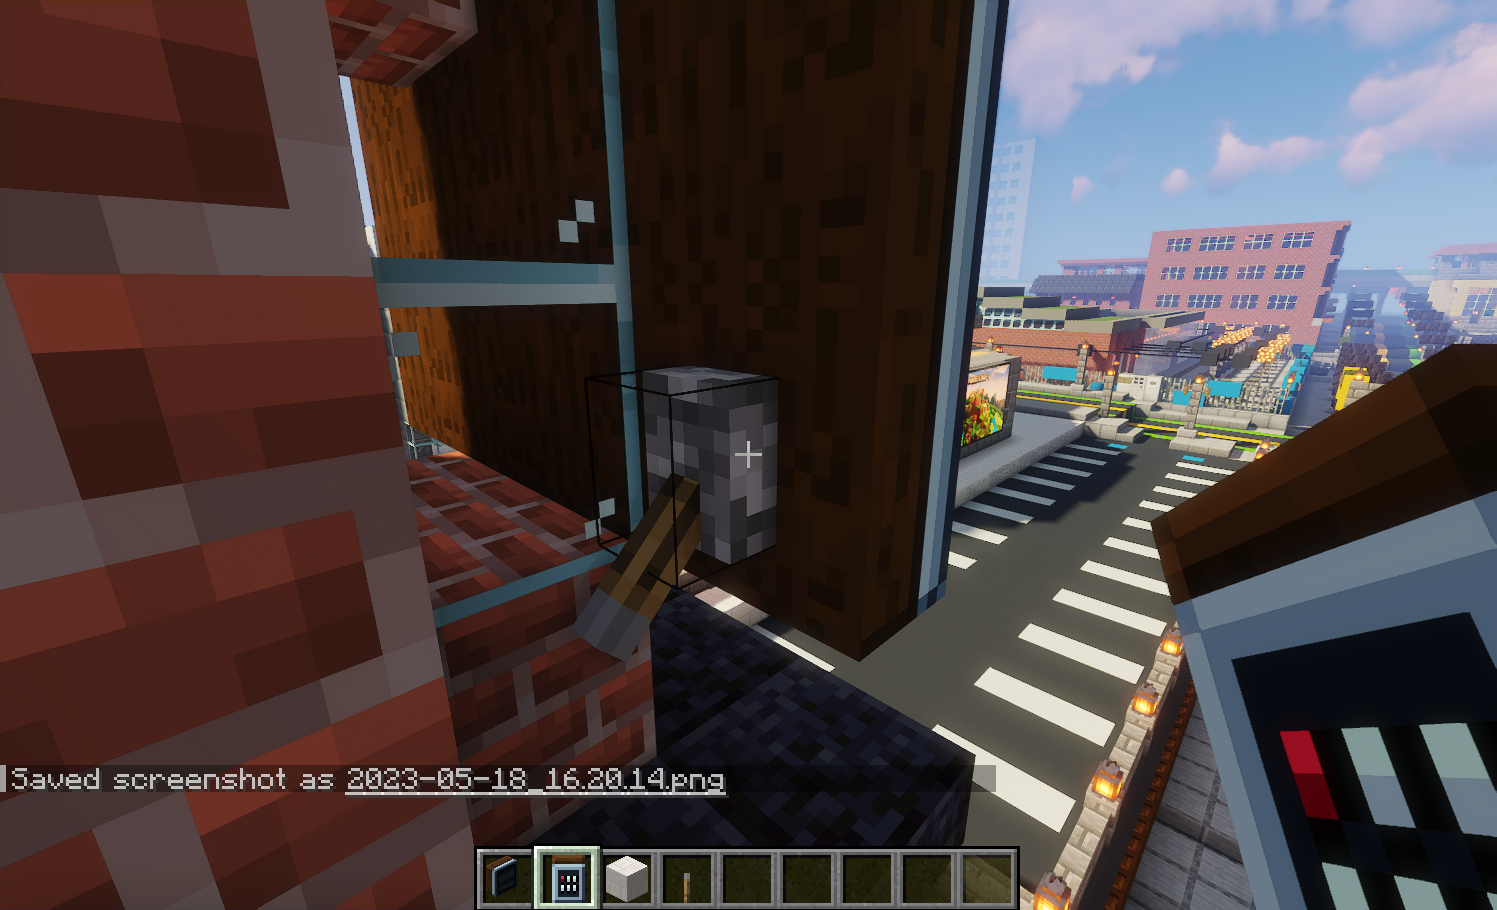
要使图片方块显示图片,必须对其进行红石充能。目前任何信号均可,我们计划在未来添加其他与红石集成的方块,例如用于更改显示的图片。
配置显示器
要设置要显示的图片,你需要一个遥控器。你可以从 Projector 标签页中获取遥控器,遥控器与 Display(显示器)关联。
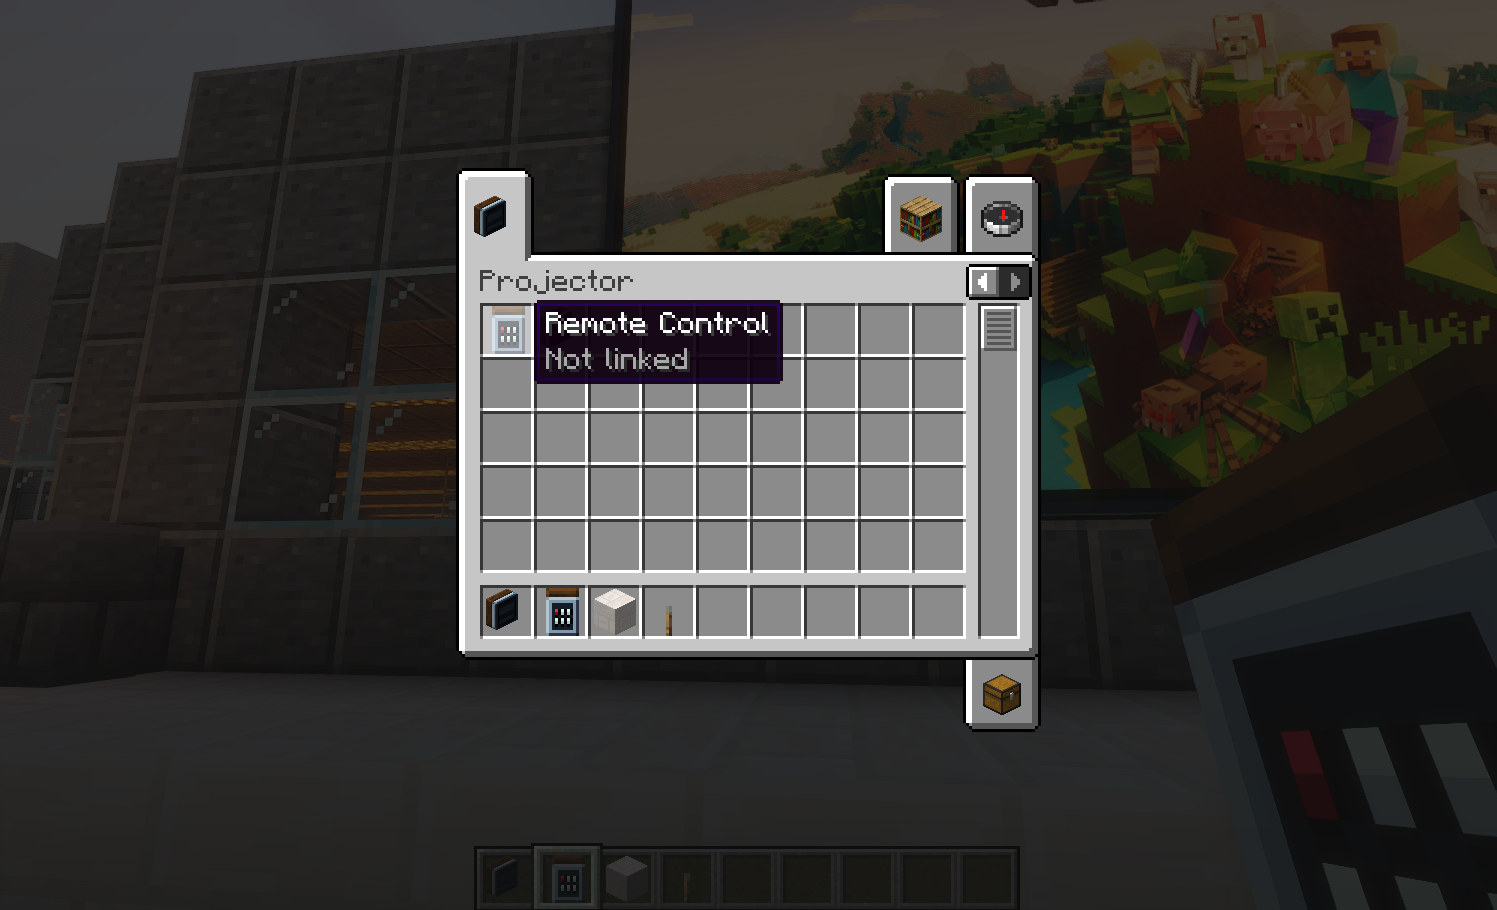
要将遥控器与 Display 关联并配置 Display,请右键点击 左下角 的显示器方块。你将看到配置菜单。
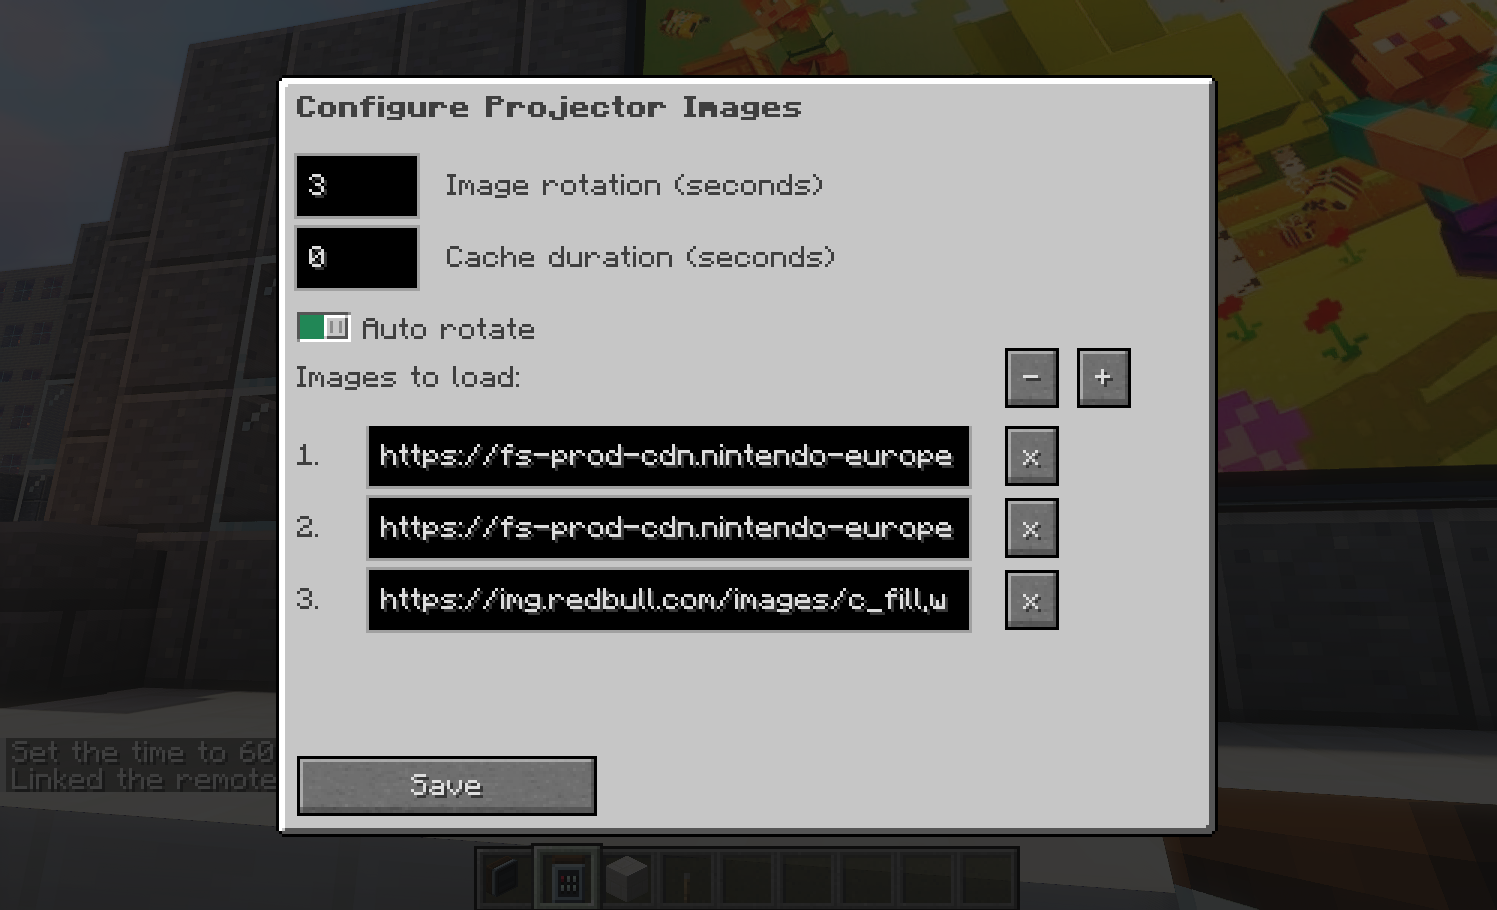
可以向显示器添加多张图片。你可以使用遥控器手动循环浏览图片,或者配置 Image rotation(图片轮换)持续时间并将 Auto rotate(自动轮换)设置为自动循环播放图片。
在前面的示例中,图片每 3 秒更换一次。
默认情况下,图片会无限期缓存,这会阻止 Projector 不断从互联网下载图片。
在某些情况下你可能不希望这样,例如,你想显示一个 URL 不变但图片会自动刷新的图像。在这种情况下,你可以将 Cache duration(缓存持续时间)设置为希望图片存在的时长。当 Cache duration 过期后,图片将从互联网重新下载。
切换图片
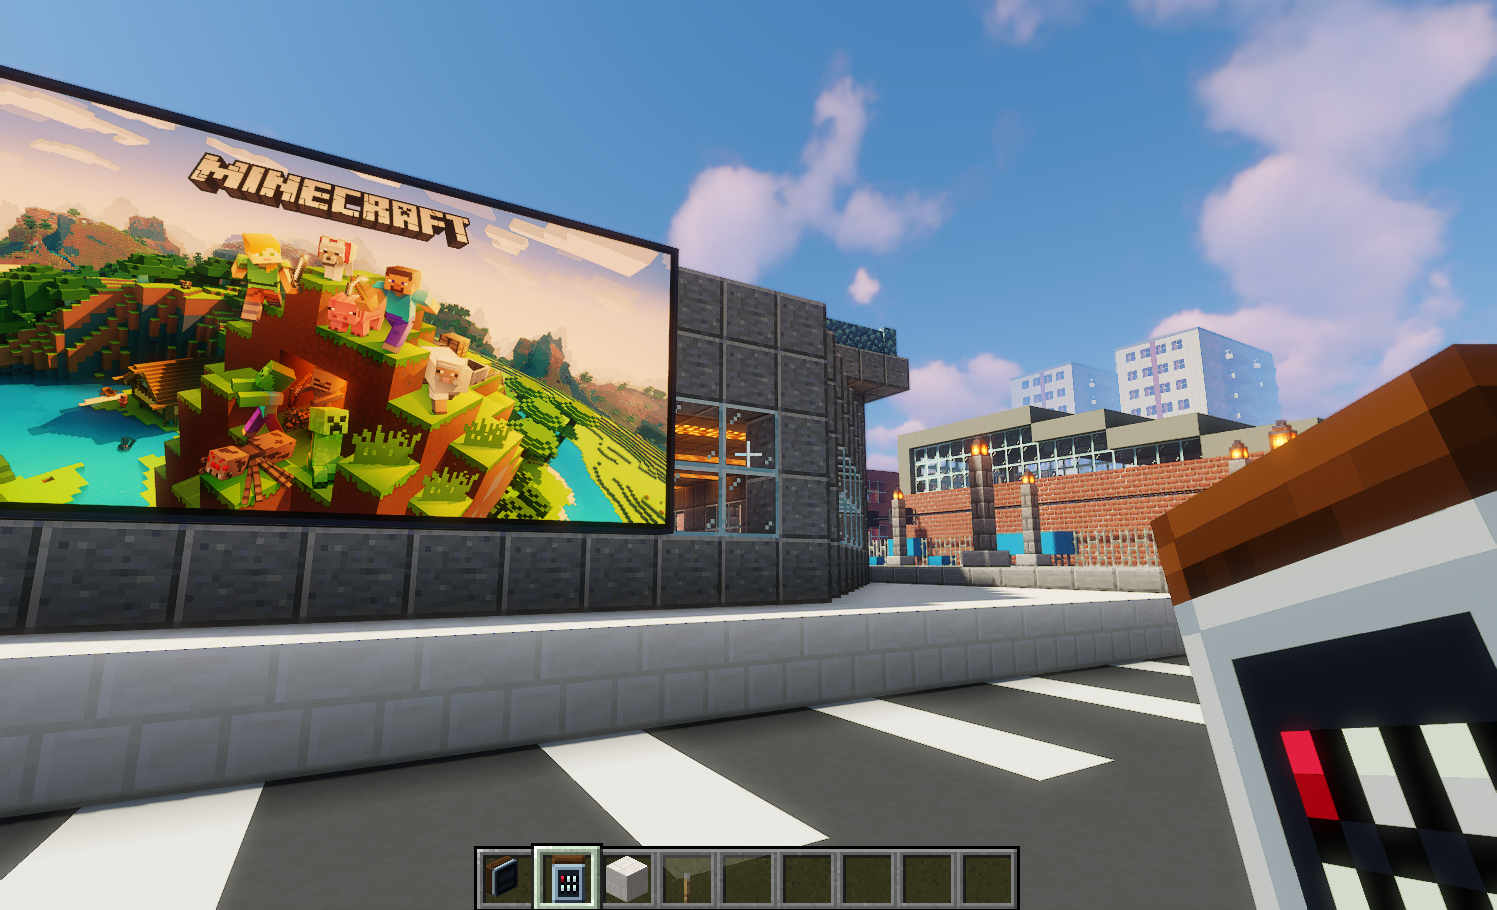
要在 Display(显示器)中循环浏览图片,你可以使用 Remote(遥控器)。手持关联的 Remote 并按下鼠标 右键 即可将图片切换到列表中的下一张。你不需要点击 Display 来更改图片。毕竟所有的 Remotes 都使用红外红石技术。
模板变量
你可以在服务器上设置环境变量,以便自动为图片设置基础 URL。
例如,如果服务器将环境变量 PROJECTOR_base 设置为值 https://mydomain.com。
然后在图片 URL 中可以使用模板变量 {env.base},它将被自动替换为该环境变量的值。
{env.base}/myimage.jpg
只有以 PROJECTOR_ 开头的环境变量才会从服务器读取,没有其他服务器环境变量会发送到客户端。
合成
要在生存模式中创建 Display(显示器),必须使用包含 6 x 橡木木板、1 x 红石粉和 1 x 玻璃块的制作配方。
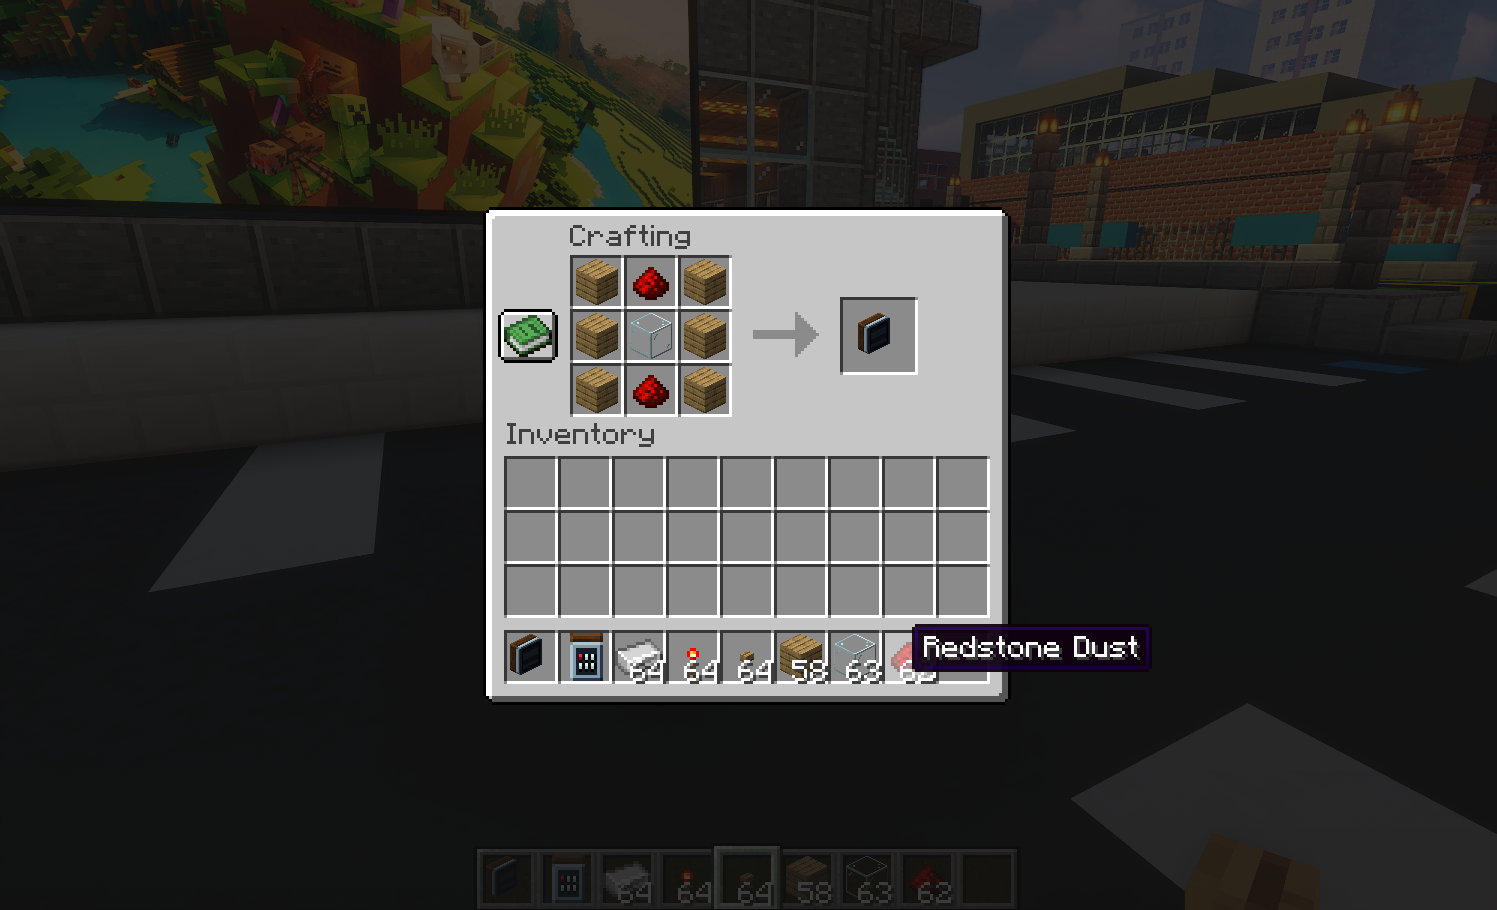
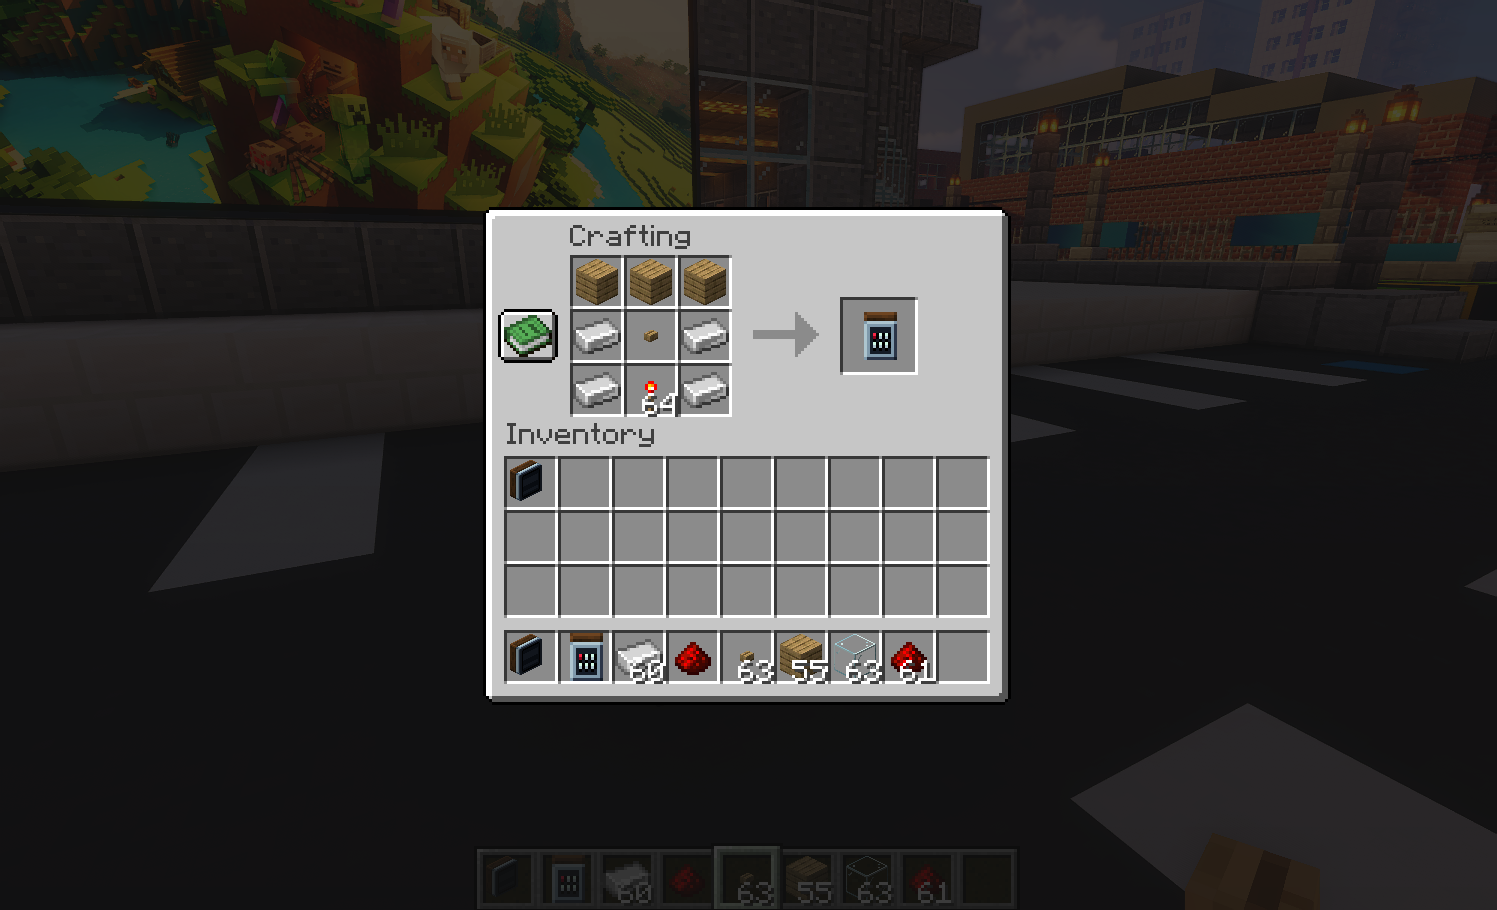
要在生存模式中创建 Remote(遥控器),必须使用包含 3 x 橡木木板、1 x 橡木按钮、4 x 铁锭和 1 x 红石火把的合成配方。
安装
此模组需要 Fabric、Fabric API,以及 Minecraft 1.17.1 或更高版本。
要使用该模组,你可以从本仓库的 [releases](发布)部分下载最新的 jar 文件。将其复制到你的 Minecraft mods 文件夹中。如果你打算在服务器上使用此模组,你需要将 jar 文件复制到服务器的 mods 文件夹中。
光影
目前,Projector 可与 Iris Shaders for Fabric 的最新版本配合使用。本文档中的所有截图均使用 Iris Shaders for Fabric 模组和 Sildurs Extreme Shaders 渲染。其他光影如 OptiFabric 尚未进行测试。
许可证
本模组在 CC0 许可下可用。欢迎从中学习并将其融入你自己的项目中。
Projector Mod is a client-side mod that adds a custom picture block that can display images from the internet in your Minecraft world.
Projector Mod works both on the client and the server, when installed as a server-side mod, projector will sync the currently displayed images to all clients.
Join our Discord server for support, suggestions, and feature requests.
Usage
To display a picture, you need to create a picture block, currently, this can be done in creative mode by selecting the Display item from the Projector tab in your inventory.
The size of the displayed picture is controlled by placing picture blocks next to each other. The picture will be scaled to fit the size of the connected blocks. As a minimum, you have to have a single block, as shown in the example below.
But there is no real limit to the size of picture blocks that you can place.
Redstone power
To display a picture blocks must be redstone powered, at present any signal will do, we plan to add other blocks that integrate with Redstone for example, to change the displayed picture at a later date.
Configuring Displays
To set an image to be displayed, you need a remote, you can get this from the Projector tab, remotes are linked to a Display.
To link a remote and to configure the Display, right-click the bottom left Display block. You will see the configuration menu.
Multiple images can be added to the Display, you can either use the remote to manually cycle through the images, or you
can configure the Image rotation duration and set Auto rotate to automatically cycle through the images.
In the previous example, the images would be changed every 3 seconds.
By default an image is cached indefinitely, this stops Projector from constantly downloading the image from the internet.
In certain circumstances you may not want this, for example, you would like to display an image whose URL
does not change but the image is automatically refreshed. In this instance, you can set the Cache duration to the
duration you would like an image to exist for. When Cache duration expires the image will be re-downloaded from
the internet.
Switching images
To cycle through the images in your Display, you can use the Remote, holding a linked Remote in your hand
and pressing the Right mouse button will change the image to the next one in the list. You do not need to
click on the Display to change images. After all the Remotes use Infra-Redstone.
Templating variables
You can set environment variables on your server that enable you to automatically set a base URL for an image.
For example, if the server has the environment variable PROJECTOR_base set to the value https://mydomain.com.
Then in the image URL you can use the template variable {env.base} and it will automatically be replaced with the
value of the environment variable.
{env.base}/myimage.jpg
Only environment variables starting with PROJECTOR_ are read from the server, no other server
environment variable is sent to the client.
Crafting
To create a Display in survival mode a recipe must be used consisting of 6 x Oak Planks, 1 x Redstone Dust, and 1 x Glass Block.
To create a Remote in survival mode a recipe must be used consisting of 3 x Oak Planks, 1 x Oak Button, 4 x Iron Ingots, and 1 x Redstone Torch.
Setup
This mod requires Fabric, the Fabric API, and minecraft 1.17.1 or later.
To use the mod you can download the latest jar from the [releases] section of this repository. Copy this to your Minecraft mods folder. If you are planning to use this mod on a server, you will need to copy the jar to the mods folder of your server.
Shaders
Currently, Projector works with the current release of Iris Shaders for Fabric. All of the screenshots in this readme are rendered using the Iris Shaders for Fabric mod, and Sildurs Extreme Shaders. Other shaders like OptiFabric have not been tested.
License
This mod is available under the CC0 license. Feel free to learn from it and incorporate it into your own projects.


 模组

 模组

 模组

 模组

 模组

 模组

评论 0
登录后参与评分
还没有评论,来抢沙发吧